aa.png)
Whiteboard interviews get easier when you rehearse the whole performance, not just the technical answer. Set up a real board, run one 45-minute prompt under interview conditions, speak every decision aloud, and review both your reasoning and how clearly the board tells the story. The goal is to make your process visible when the pressure rises.
What is a whiteboard interview really testing?
The visible output might be code, an architecture diagram, a product flow, or a research plan, but the interviewers are also watching how you turn an incomplete prompt into a workable problem. They want to hear the questions you ask, see how you organize uncertain information, and understand why you choose one approach over another.
That changes how you should practice. Solving ten problems silently on a laptop can improve recall, yet it does not train you to stand up, write legibly, maintain a conversation, and notice that an interviewer has just challenged one of your assumptions. Whiteboard interview practice should reproduce those constraints.
You do not need to look polished from the first minute. A strong session often includes a rough first idea, a useful question, a correction, and a clearer second pass. Interviewers can only evaluate that process if you explain it without turning your answer into a nonstop monologue.
How should you set up the board before the timer starts?
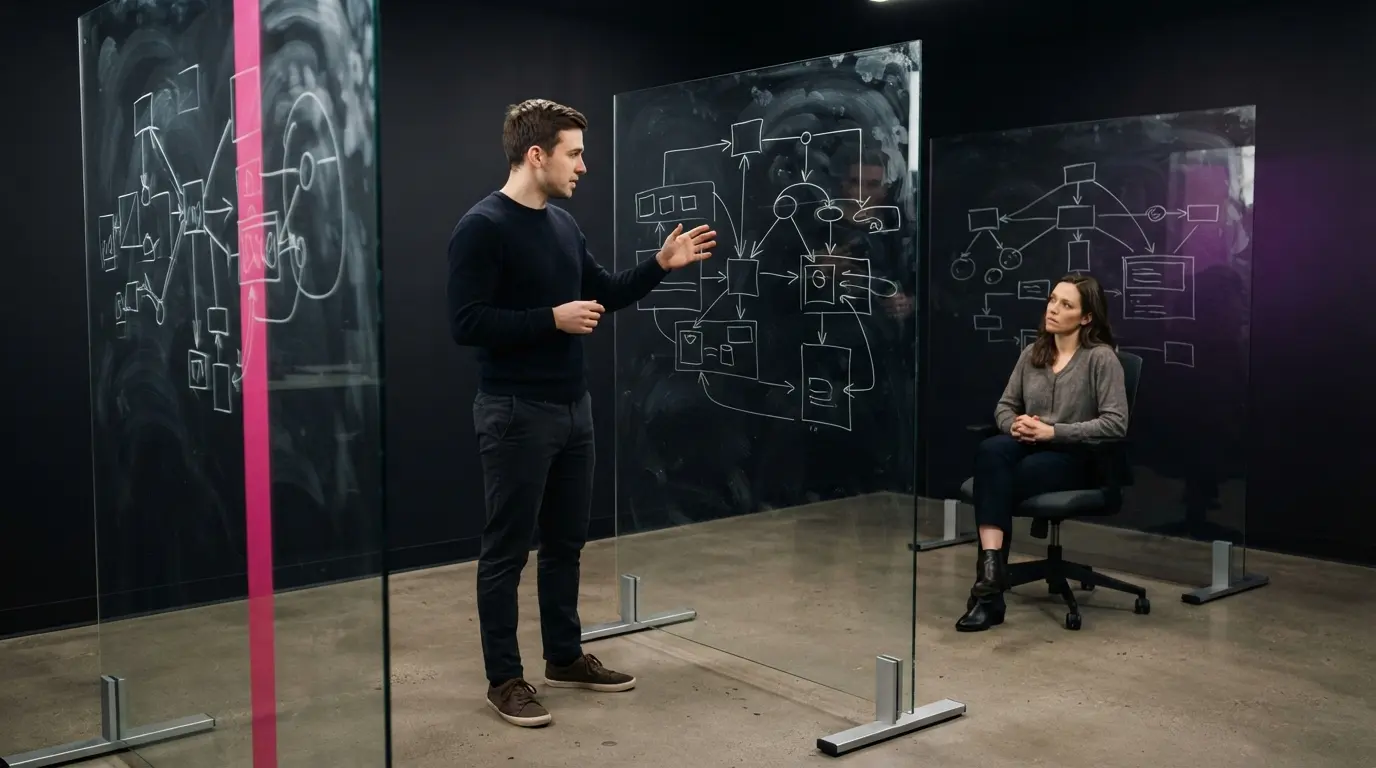
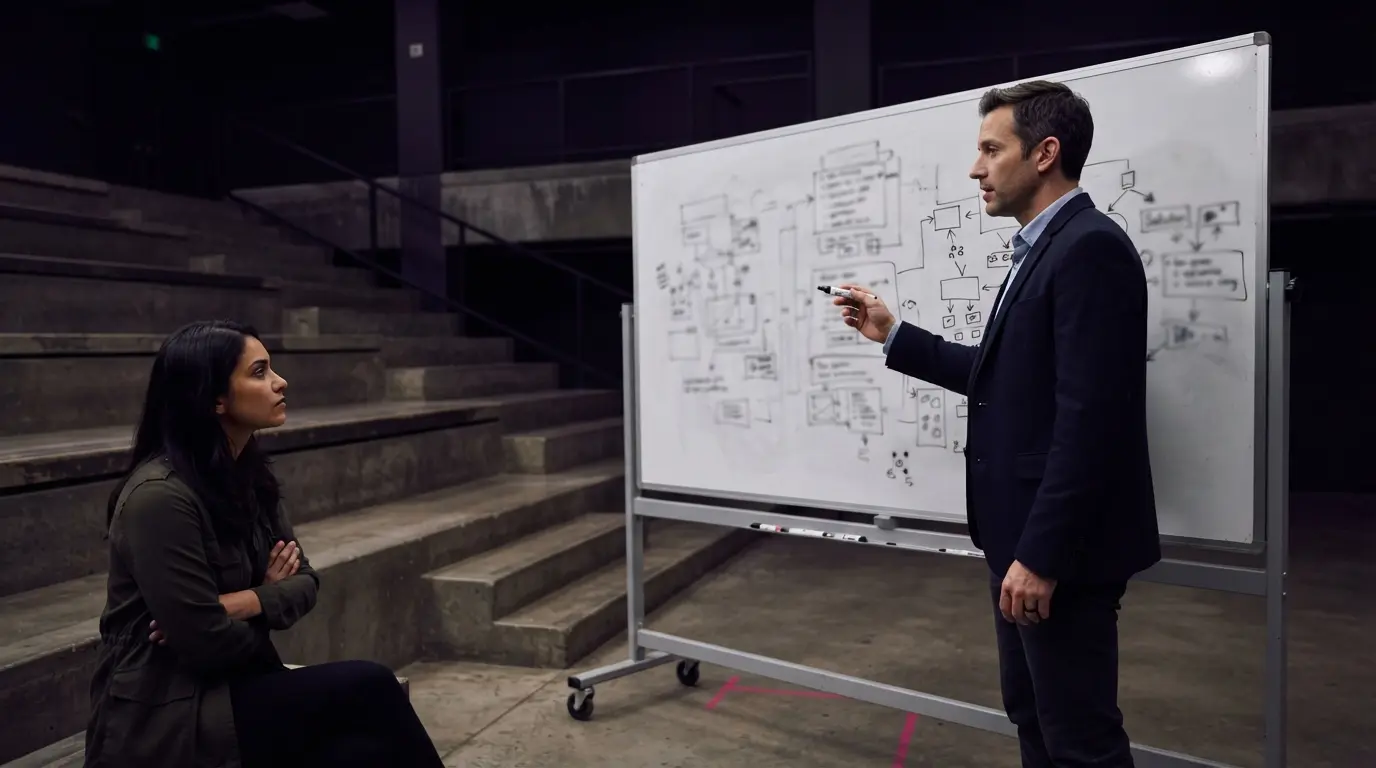
Use a physical whiteboard if you can. Paper on a wall is a decent substitute, while a drawing tablet is useful only if the actual interview will be remote. Stand far enough back that your writing arm can move freely, and place your camera where a practice partner can see both you and the board.
Divide the board lightly into five working zones:
- Put requirements and constraints in the upper left.
- Reserve the upper right for examples, inputs, users, or assumptions.
- Use the centre for the main solution, diagram, or flow.
- Keep the lower left for tests, edge cases, and failure modes.
- Leave the lower right open for trade-offs, improvements, and follow-up changes.
These are guides, not boxes you must fill. Their purpose is to stop the first idea from swallowing the whole board. Write large enough for someone two or three metres away to read, and leave space between blocks so arrows do not become a knot.
Before each attempt, prepare only the prompt, a marker, an eraser, and a timer. Do not keep solution notes within reach. If you normally code with autocomplete or search, the absence will feel uncomfortable at first, which is exactly why this rehearsal matters.
What does a useful 45-minute practice session look like?
A full session should include the opening conversation, the main work, a change of direction, and a short review. Use this timing as a starting point:
- Spend the first five minutes restating the prompt, identifying the desired outcome, and asking about missing constraints.
- Use minutes five to ten to work through one small example and name the simplest reasonable approach.
- Spend minutes ten to twenty-five building the solution while explaining the purpose of each major step.
- Use minutes twenty-five to thirty-five to test the work, find weak points, and respond to one follow-up condition from your partner.
- Spend the last ten minutes discussing complexity, trade-offs, alternatives, and what you would improve with more time.
If you finish early, do not immediately start a harder problem. Use the remaining time to check whether the board is readable, whether your assumptions are visible, and whether someone who missed the conversation could follow the path from prompt to conclusion.
Ask a practice partner to introduce one realistic change at the 25-minute mark. For a coding prompt, they might add a memory constraint. For system design, they might increase traffic or require regional failover. For a product exercise, they might narrow the target user or question your success measure. This trains you to adapt without erasing everything in frustration.
What should you say while you work?
Good narration is selective. Explain decisions, uncertainty, and checks, while skipping every tiny movement of the marker. Start with a clear restatement: “I understand the goal as building X for Y under these constraints. Is that the right scope?” This gives the interviewer a chance to correct the problem before you solve the wrong one.
When you make an assumption, label it: “I do not have the expected traffic yet, so I will start with a moderate read-heavy load and adjust if you want a different scale.” When you choose an approach, connect it to the prompt: “I am using a queue here because the work can happen asynchronously, and a temporary delay is acceptable.”
You can also pause without creating dead air. Say, “I want a moment to compare these two options,” then look at the relevant part of the board. A short, declared pause sounds deliberate. Repeating “I am thinking” for two minutes does not help the listener follow you.
If live coding is the main format, the same habits apply even when the company uses an online editor. This live coding interview playbook covers clarifying, testing, and recovering while the interviewer watches.
How should practice change for coding, system design, and product prompts?
For a coding whiteboard problem, the board should show the contract before the implementation. Write a tiny input and output, clarify edge cases, describe a straightforward solution, and only then move toward a better one. Keep syntax loose enough that you can focus on logic, but use consistent variable names and trace at least one example through the finished approach.
For system design, spend more time setting scope. Identify users, core actions, scale assumptions, and reliability needs before drawing services. Build the main request path first, then add storage, caching, queues, or replication only when a requirement supports them. The system design interview preparation guide explains how to study the decisions behind those components instead of memorizing one giant diagram.
For object-oriented design, name the behaviours and relationships before filling the board with classes. A smaller model with clear responsibilities gives you something useful to discuss and revise. If that is your next round, the object-oriented design interview walkthrough provides a step-by-step framework for moving from requirements to a testable model.
Product, UX, and research exercises need a different centre of gravity. Put the user, business goal, context, and success measure on the board before sketching a flow or method. State which facts are missing, make limited assumptions, and show how you would validate them. The interviewer should be able to see why the proposed work fits the problem, not simply admire a neat sketch.
What should you do when you get stuck?
Getting stuck is not the failure. Hiding it, writing faster, and digging deeper into an unsupported idea usually causes more damage. Stop, point to the last part you still trust, and say what has become unclear. For example: “This handles the normal case, but the update path creates a consistency problem. I want to step back and compare two ways to handle it.”
Then simplify. Return to the smallest example, relax one constraint, or describe a slower solution that you know is correct. A brute-force answer can give you a stable base for improvement. If you need help, ask a focused question such as, “Should I prioritize memory use or response time here?” A specific question shows judgment and gives the interviewer somewhere useful to respond.
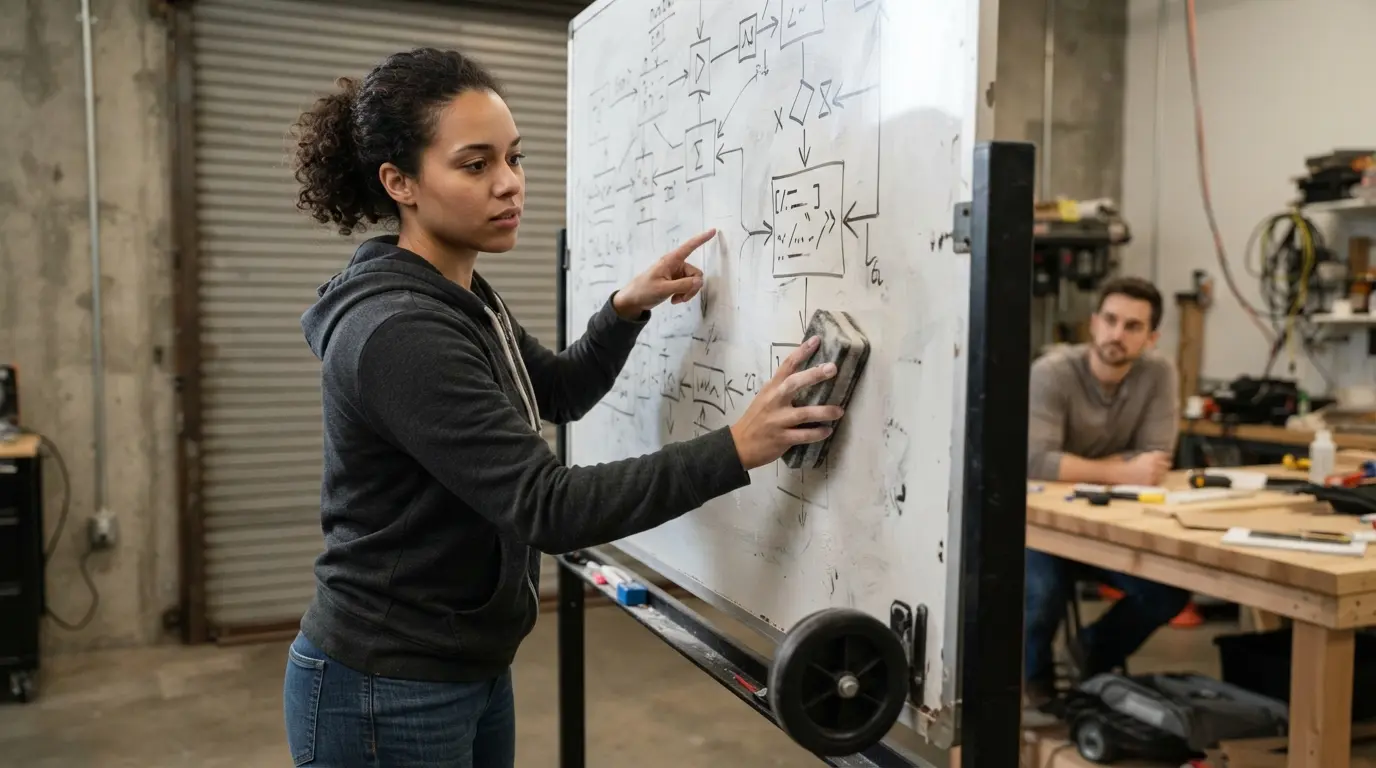
Practice deliberate corrections too. Draw one line through a discarded block rather than attacking the board with the eraser. Briefly explain why you are changing course, then continue from the new decision. A clean correction shows that you can absorb evidence without pretending the first idea was perfect.
How can you practice alone without rehearsing bad habits?
Record yourself from an angle that captures your voice, posture, and board. Use a new prompt, run the full timer, and do not stop the recording when you stumble. During review, watch once without sound to judge board structure and body position, then listen without watching to judge whether the reasoning still makes sense.
On the second pass, mark the first moment when your explanation becomes hard to follow. Do not grade the whole answer yet. Pick one correction for the next round, such as writing larger, stating assumptions earlier, testing before optimizing, or leaving a clearer section for trade-offs.
If you want another voice in the rehearsal, Hiintly can listen during a practice conversation and surface resume-personalized suggestions in its private overlay. Use that as a prompt to keep talking when you lose your thread, not as a script to read. The free 10-minute session becomes available again after a 5-minute cooldown, which is enough for short opening and recovery drills between full mocks.
How should a practice partner score the session?
Your partner does not need to know the perfect solution. Ask them to score what they could observe:
- Did the candidate confirm the goal and ask useful questions before solving?
- Could they follow the board from left to right without a separate explanation?
- Did each major choice have a reason tied to a requirement?
- Did the candidate test the work and notice at least one weakness?
- When challenged, did they listen, adapt, and explain the change calmly?
- Did the closing summary match what was actually on the board?
Use a simple one-to-five rating for each item and require one piece of evidence. “Communication was a three” is vague. “You explained the first approach clearly, but went silent for four minutes after the follow-up” gives you something to train.
Do not combine ten corrections into the next attempt. Choose the lowest scoring behaviour that would make the rest of the session easier. Better prompt clarification can prevent a bad solution path; better board spacing can make testing possible; better pauses can improve both reasoning and delivery.
What should you fix between practice rounds?
Take five minutes after the review and redraw only the board structure, not the full solution. Keep the useful labels, move crowded sections, and note where a small example would have exposed the problem sooner. This creates a visual memory of a better process without encouraging you to memorize the answer.
On the next day, use a different prompt with the same scoring target. If you repeat the exact problem, familiarity can hide whether the habit improved. Three varied sessions focused on one behaviour usually tell you more than one evening spent polishing a single performance.
Your final rehearsal should feel ordinary. Use the same marker type, standing position, remote camera angle, or digital whiteboard controls that you expect in the real interview. Confirm practical details, then stop studying early enough to arrive rested. The strongest whiteboard interview practice gives you a process you can trust when the prompt itself is unfamiliar.
Frequently Asked Questions
- How many whiteboard interview practice sessions should I do?
- Three to five full sessions are usually enough to expose recurring habits. Focus each new session on one observable improvement rather than repeating the same prompt until it feels memorized.
- Can I practice a whiteboard interview alone?
- Yes. Record your voice and the board, review them separately, and score one behaviour at a time. Use a fresh prompt in the next session so familiarity does not hide weak reasoning.
- Should I write real code or pseudocode on the whiteboard?
- Start with structured pseudocode unless the interviewer asks for a specific language. Once the logic is agreed, use consistent language-like syntax and explain any shorthand.
- What if I make a mistake during a whiteboard interview?
- Name what changed, return to the last part you trust, and correct the board cleanly. Interviewers can learn more from a calm correction than from an answer that pretends the mistake never happened.
- How large should I write on a physical whiteboard?
- Write large enough for the farthest interviewer to read without leaning forward. In practice, record the board from a few metres away and check whether labels, examples, and arrows remain clear.
- Does whiteboard practice help with remote technical interviews?
- Yes. The reasoning, layout, and communication habits transfer to shared digital whiteboards and coding tools. Practice the exact controls and camera setup you expect to use remotely.